How to Create Formulas in Excel
When working with data in Excel, you will sometimes want to use formulas and functions to perform calculations on your data. Formulas are mathematical equations you can manually enter into cells to perform calcuations on your data. Functions are pre-written equations that Excel provides to help you perform simple and complex calculations more quickly.
How to Create a Basic Formula in Excel
Step 1: Select the cell where you would like the formula to appear, and enter the = sign.
Each formula needs to begin with the equal sign. The equal sign ( = ) instructs Excel that the information included after the equal sign should be calculated. You can enter the equal sign in the selected cell, or in the formula bar.
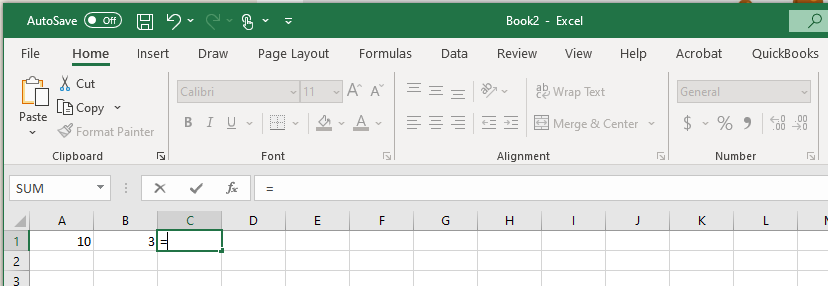
Step 2: Enter the formula arguments
After you enter the equal sign, you will enter the arguments for the calculation. This can be done in a few different ways: Using static variables, using cell references, or using Excel functions.
Static Variable Formulas

Cell Reference Formulas

Formula Using Excel Functions
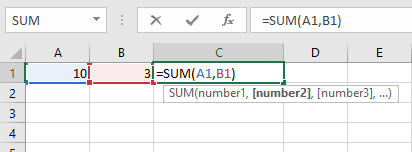
Step 3: Click the Enter Key
Once, you enter the formula arguements, click the enter key, and the result of the calculation will appear in the cell where you wrote the formula. That is it. Now you have a completed Excel formula. In the next section, we will look at how to apply a custom chart template to a new set of data.

How to Edit a Formula in Excel
Step 1: Double click on the Cell where the formula is located.
Use your mouse to select the data you would like to include in your chart.
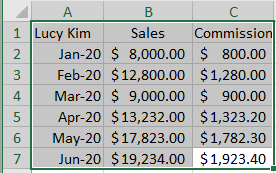
Step 2: Make any changes needed to the formula
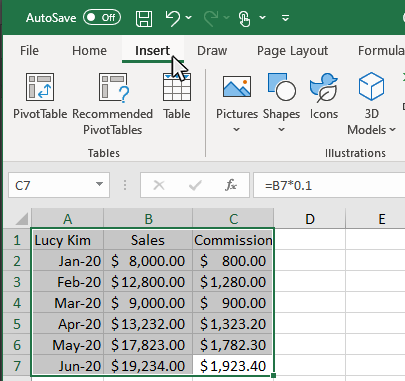
Once the chart data is selected, click in the Insert tab to display insert Chart options on the ribbon.
Step 3: Click on the Enter Key
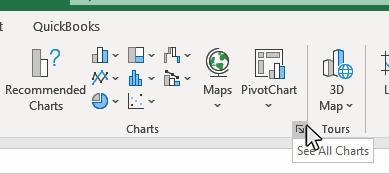
In the Chart section of the Insert tab, move you mouse to the bottom right corner, then click the See All Charts button.
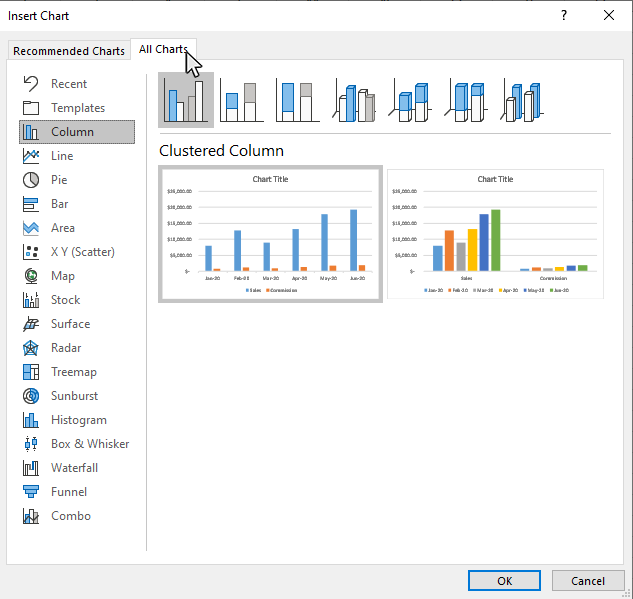
Step 4: Click on the All Charts tab in the Insert Chart window
In the Insert Chart window, click on the All Charts tab.
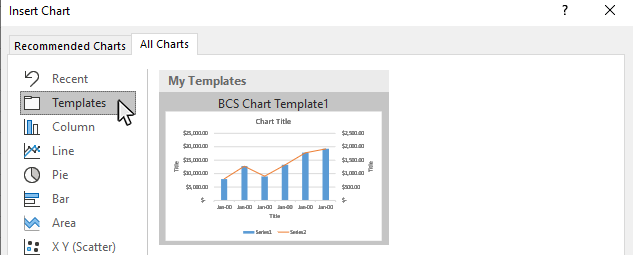
Step 5: Click on the Templates option on the All Charts tab
In the Chart section of the Insert tab, move you mouse to the bottom right corner, then click the See All Charts button.
Step 6: Select the custom template you want to use, and click OK
Pick the template you want to use from the templates screen and click OK.
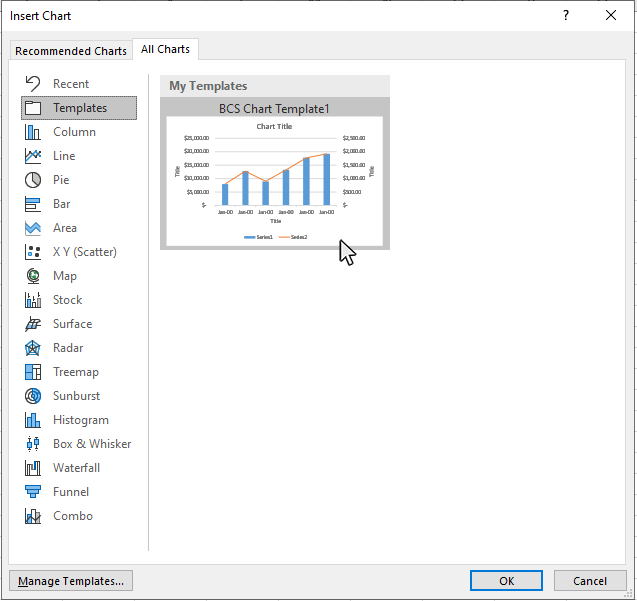
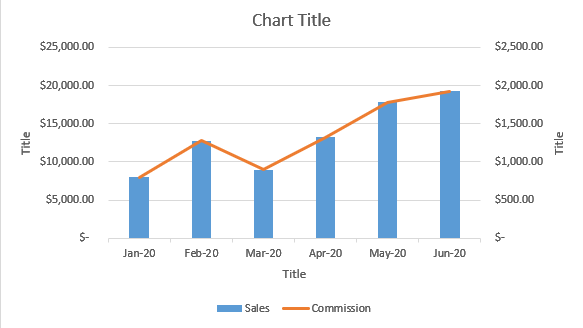
Excel will then apply the template formatting to the new chart.
Topic #2
How to Use AutoFill in Excel
Thanks for checking out this tutorial. If you need additional help, you can check out some of our other free Excel Chart tutorials, or consider taking an Excel class with one of our professional trainers.


